

Electrical
Electrical in The Dalles
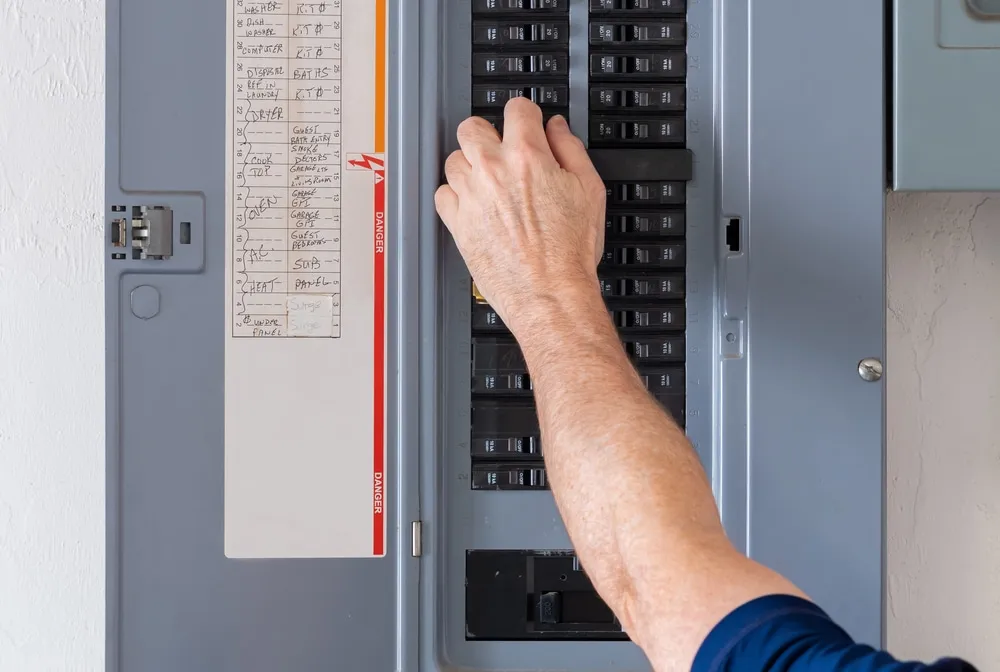
- Electrical panels
- Lighting installation
- EV charger installation
- Generators
The Dalles, OR · Since 1979
Licensed techs for heating, cooling, plumbing, and electrical in The Dalles. Available 24/7.


Tell us how we can help. Or call (844) 659-8611.
Sky’s Gorge shop is at 616 E 3rd St, The Dalles, OR 97058. The Dalles is on our FAQ service-area list and on the coverage map from Portland through the Gorge.
Sky Heating, AC, Plumbing & Electrical has served the Portland area since 1979. We’re licensed (CCB# 245538 | SKYHEHA7635N), family-owned, and available open 24 hrs. mon - sun.
 What we do here
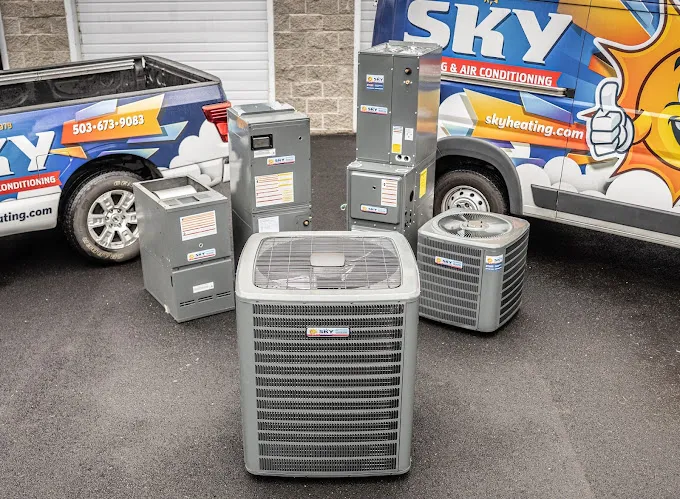
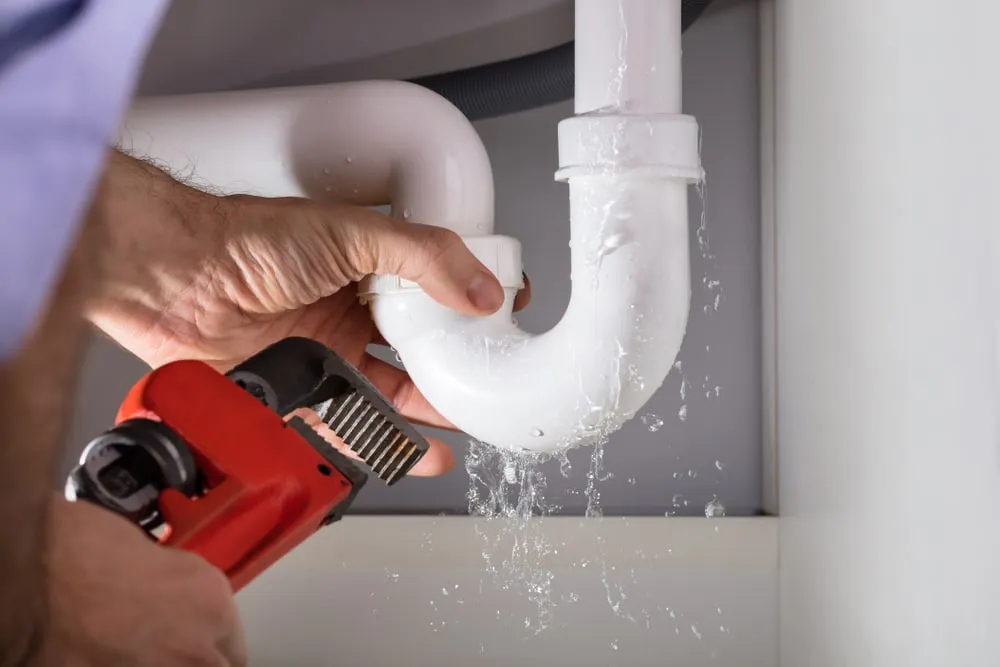
 HVAC, plumbing, and electrical — the same list we run across the Portland area, dispatched for The Dalles, OR.
 Electrical in The Dalles
 From service panels to lighting and EV chargers, Sky electricians work in The Dalles every week.
We are proud to have earned an A+ rating and accreditation from the Better Business Bureau thanks to our impeccable business practices.
Our crew is ready to be there for you when you need us most. 24/7 emergency service is available to all customers in need of immediate help.
Use our HVAC preventative maintenance checklist to help keep your home's heating and cooling system running smoothly year-round in Portland and The Dalles.
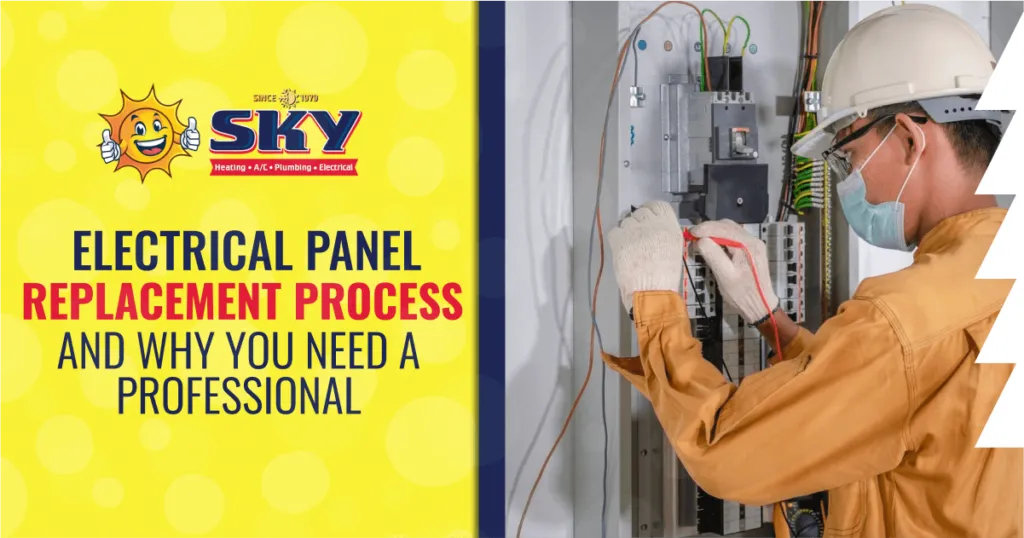
The electrical panel replacement process is complex and requires a licensed electrician, your utility company’s cooperation, and a city permit/inspection.
Duct replacement can be delayed with routine maintenance, such as cleaning HVAC ducts and scheduling duct sealing services in Portland and The Dalles.
While a furnace that won’t stop may signal a technical issue, setting the fan to “ON” at the thermostat may be best practice, depending on your furnace. Newer models are designed to stay on day and night.
Why should you run your HVAC fan continuously? The following are some of the hidden benefits.
One of the biggest benefits of HVAC fans is proper air circulation. Heated and cooled air doesn’t always circulate properly because heat rises and pushes cold air to your house’s lower areas while making upper floors and attics very warm. Running the fan evens out temperatures throughout all spaces in your home, circulating warm and cool air for more even — and faster — residential heating and cooling.
The Dalles, Portland, and the Tualatin area are famous for their rainy, temperate climate. Mold and mildew can flourish in these conditions without good airflow. Better air circulation greatly reduces the chances of these contaminants growing in the walls, cracks, and crevices of your home.
With new HVAC systems, keeping the fan on actually improves energy efficiency. HVAC fan settings in newer models make automatic adjustments, keeping the temperature in your home even, which, in turn, reduces the amount of time your furnace or air conditioner needs to stay on to maintain your ideal temperature.
Energy Star rated furnaces and air conditioners are more likely to save you money on your energy bills while running 24/7, and they reduce greenhouse gas emissions and the demand for importing energy.
Better air circulation in your home benefits people with allergies, pets, and respiratory conditions because the air in your house makes more passes through the system’s filters, catching any allergens, bacteria, viruses, pollen, mold spores, dust, and other airborne particles.
You might have to change the filters more often if you run the HVAC system constantly, but you will also enjoy higher-quality indoor air.
Contrary to popular belief, keeping your HVAC fan on may extend its service life, provided the equipment was properly installed and your ductwork is correctly sized. Set to off, a newer, energy-efficient HVAC system goes through more wear and requires more maintenance than if the fan is set to the “on” position.
Your HVAC system’s only job is to keep you comfortable. With the fan set to the “on” position, your home’s interior will have consistently fresh, conditioned air at your desired temperature without you having to monitor the thermostat or manually adjust the temperature.
You’ll also get a more even temperature distribution, especially if your house has more than one floor. In the hot Oregon summers, your entire space will stay cool. In the chilly winters, you won’t have to worry about cold spots in the house.
There are a few reasons you should not keep your HVAC fan running continuously. For example, if your ductwork is in the attic, the summer heat can make running the fan impractical. Temperatures well above 100°F can end up blowing down into your main living space. It also won’t help if your ductwork is leaking. Make sure to have your ducts tested and sealed occasionally so your HVAC system is as efficient as it’s designed to be.
Another consideration is the age of your HVAC system. If you’re concerned about constant fan use and energy consumption, it could be a good idea to install a more efficient motor. Older furnaces tend to use permanent split capacitor (PSC) type motors. However, a new, more efficient electronically commutated motor (ECM) can cut energy use despite running more often.
While each HVAC system is built differently, setting your fan to run continuously through the thermostat should be fairly easy. The “on” setting keeps the fan running even after the air reaches your desired temperature. Select this setting rather than the “automatic” setting, and the system will actively push the already-conditioned air around in your house 24/7, keeping it evenly heated or cooled with clean, filtered air year-round.
If you’re unsure how to change your HVAC system’s fan settings and live in Portland, the Dalles, Troutdale, Lake Oswego, Tigard, Rivergrove, Milwaukie, or the surrounding area, reach out to Sky today. A qualified technician will inspect your system to ensure it’s ready to be set to “on” and then show you how to do it.
You deserve to have an HVAC system that works its best year-round. If your heating and cooling isn’t keeping you comfortable, call Sky Heating, AC, Plumbing, and Electrical today. An experienced local HVAC technician will assess the issue and help you improve your system.
We’re your local home service center, offering a wide range of HVAC services, including AC, furnace, and ductwork inspections, installations, replacement, maintenance, and more. We employ the expertise, tools, and equipment to get the job done right to make sure your system offers the comfort, efficiency, and air quality you need. We care about providing a quality experience to each of our clients and will do what it takes to make sure you’re happy with the work we do.If you’re considering changing how you run your HVAC system, contact our team today to schedule a consultation appointment. Count on our expert technicians to provide trustworthy advice. Schedule service using our easy online form, or call us directly at (503) 563-2698.
Your home electrical system normally operates at 120 volts. However, alternating current fluctuates and can normally peak at up to 169 volts. Anything higher than that is considered a surge. Spikes in AC power can happen anywhere, anytime.
Power surges may last for as little as a millionth of a second but be strong enough to cause an arc inside an electrical device. This can overheat components such as circuit boards. Smaller surges can occur just by turning on appliances. The damage adds up gradually until an electrical device suddenly stops working.
There are many causes of power surges, such as the following:
You can’t stop every voltage spike. Power outages on the electrical grid, surges when power is restored, and lightning strikes are out of your control. However, you can protect your home and minimize the risk with the following preventative measures:
You can’t stop every voltage spike. Power outages on the electrical grid, surges when power is restored, and lightning strikes are out of your control. However, you can protect your home and minimize the risk with the following preventative measures:
If a strong storm is approaching, disconnect electrical devices from the power supply to protect them from surges. This is the best way to prevent damage to televisions, computers, and large appliances. Even if lightning doesn’t strike close to your home, disruptions in electricity from the power grid can damage anything that’s still connected.
After a storm, you should do the following to prevent additional damage:
A power surge is almost inevitable as the utility company restores power. It may seem surprising that all the lights are out one second, and the next, your home is jolted by high-voltage electricity. One reason is everything turns back on at once. The more electronics unplugged or turned off, the less the demand as the initial surge of electricity reaches your home. Therefore, shut off all electrical devices and appliances during a blackout, including your air conditioner.
Newer appliances are often advertised as high-efficiency. Manufacturers and dealers love to promote the idea that an expensive, high-end unit will lower your electricity bills. Modern air conditioners, refrigerators, and washer-dryers are designed to meet new efficiency standards, so they draw less electricity. This means they’re also more resistant to power surges, so you can save on both energy and frequent repairs.
How you manage your outlets can prevent power surge damage. Plugging too many devices into one outlet can cause an overload. Distributing the load can prevent a surge in the first place. Large appliances such as refrigerators and HVAC units should not share an outlet with other devices.
The safest solution is to have an electrician install a dedicated circuit and breaker for each large appliance. This avoids exceeding each circuit’s rated capacity. It can also prevent voltage fluctuations due to overheated lines.
A surge protector is effective at preventing damage from internal voltage spikes. Although not designed to handle the intensity of a lightning strike, it can protect an expensive appliance or electronic system from a power surge, and possibly save you thousands of dollars in replacing a home entertainment system or an HVAC unit.
Small plug-in surge protectors protect only one device. A whole-home surge protector is a heavy-duty system that protects every device and circuit from external surges. The system is connected to your main electrical panel. Providing a barrier between the power grid and your home electrical system, it blocks any surge from reaching outlets, appliances, and electronics within your house, no matter where they are.
A heat pump can slow down, provide decreased temperature control, or become less efficient for many reasons. A faulty part is often the cause. However, every repair has a different set of circumstances. Your local heat pump repair contractor calculates the cost of service based on the following factors:
Some heat pumps have a more conventional design, while others employ newer technologies. Here are the most common types and their typical repair costs:
Repairing a heat pump often requires replacing one or more parts. Generally, the more components that need to be replaced, the higher the heat pump repair cost. Expenses vary depending on the type of part, the brand, and the project’s complexity.
The cost of repairs can also be affected by the type of problem. For example, if the heat pump won’t turn on, a thermostat, breaker, or fan switch issue may need to be resolved. Repairs can cost $150 to $400, depending on how many components are needed. Fixing a heat pump that won’t defrost can cost under $100 or as much as $650; the causes range from a defective timer to a damaged reversing valve.
Here’s a look at the costs of some other common heat pump replacement parts:
How expensive heat pump repair is can depend on a range of factors other than the type of unit and parts needed. Costs can be impacted by the following:
Heat pumps can last up to 20 years. However, if you need extensive repairs before then, you may consider replacing the system to save money over time. A new heat pump can cost $4,500 to $8,000 (more advanced geothermal models can cost $20,000 or more). Paying repeatedly for parts and labor can exceed installation costs, especially if your system needs a repair every few months.
You might need an electrical panel upgrade if the circuit breakers trip frequently, the panel emits a burning smell, or it looks worn, rusted, or damaged. A common reason to replace the panel is to boost capacity and add amperage to support an increased load. The project also often includes replacing outdated or worn-out wiring, so it has many benefits.
In general, here’s what electrical panel replacement looks like:
A trench inspector determines the project requirements and obtains approval before digging a trench, which will contain the underground feeder conduit. The trench is then re-inspected and backfilled. Sidewalk, street, or driveway repairs are completed as necessary.
Once the installation is complete, repairs to stucco/siding, waterproofing, and painting are completed. A final inspection is then scheduled to ensure your electrical panel upgrade complies with NEC standards.
Only if you have years of training and experience and an electrician’s license can you replace an electrical panel. It’s one of the most challenging electrical jobs. The reasons you need a professional include:
Whether you need HVAC, plumbing, or electrical help, our licensed experts are ready. Tell us about your project and we will guide you through the next steps.
Portland, OR & surrounding areas
Ready to get started? Our team will follow up within 24 hours.
Get Started Or call us at (844) 659-8611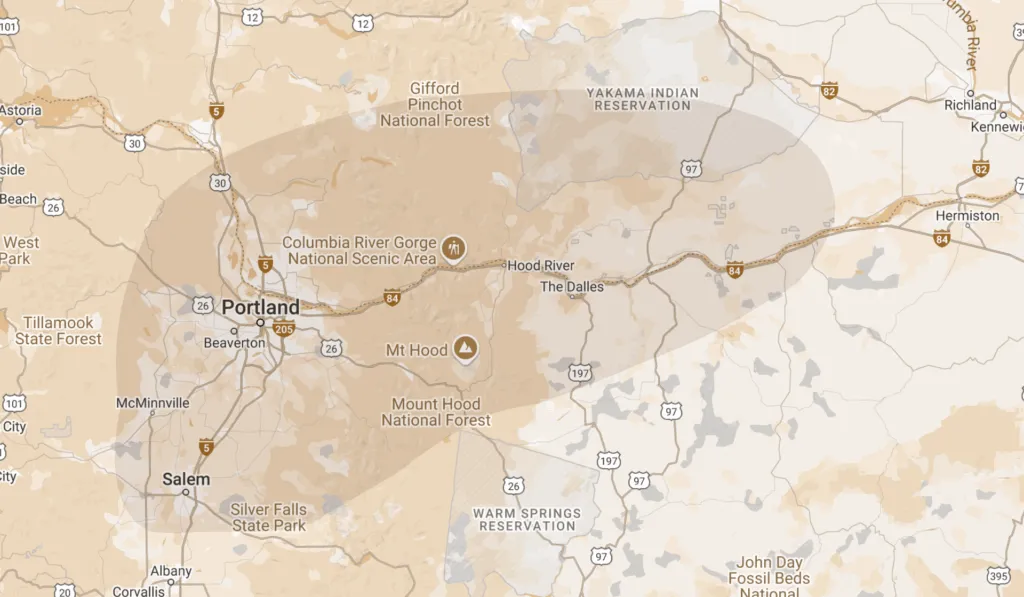
Portland, The Dalles, and communities across North Oregon and Southwest Washington. See every city we serve